What to Expect
The day of the shoot it is important to relax. This is why I emphasize pre-session preparations so session day goes smooth. As our session date gets closer I encourage you to keep in touch. Let me know if you have questions, need advice on outfit choices, want guidance on styling, etc.
This is why you hired a professional! I do this all the time and I am here to help you in anyway I can.
Below are some quick links to jump ahead to sections of this welcome guide.
︾

Planning Your Time
Whether it’s scheduling hair, makeup, or prepping your horse, it’s important to allow extra time for unexpected delays. Traffic, last-minute outfit adjustments, or a mischievous horse deciding to roll in the dirt can all add to the rush. Arriving early helps reduce stress and gives you time to settle in, get comfortable, and ensure everything is in place before we begin. The more prepared we are, the more time we’ll have to capture the best moments during your session!
Timeline Guide
The night before give your horse a full bath. Keeping them stalled or in a clean area overnight helps prevent rolling and dirt buildup.
On the day of the session, start with a light ride or exercise to help your horse work out any excess energy and stay calm.
Once they’ve settled, begin getting yourself ready by doing your hair and makeup, but wait to put on your outfit to avoid any last-minute stains or horse hair.
Before the session, feed if your session is scheduled around dinner time and give your horse a final grooming touch-up. A quick polish of their hooves will add a nice finishing touch.
Once everything is in place, change into your outfit, do any last-minute touch-ups, and we’re ready to rock and roll!
Bonus Tip: Having a friend or family member there to assist can make the process smoother, helping with final adjustments or holding your horse while we set up.
Outfit Changes
Changing outfits during a session takes more time than you would expect. To maximize our time and so that I can provide you with a generous number of photos, I suggest adhering to the recommended number of outfits listed below.
Silver Session - Choose one outfit that you can add to if you want to change it up a bit. Maybe a cowboy hat, jacket or just an easy top change.
Gold Session - Includes two outfits. Clients often go with a casual and then a dressy look. I can bring my changing tent if we venture far from the barn.
Platinum Session - Includes multiple changes BUT remember we want to make good use of our time so don’t go too crazy. I would recommend a casual look with some accessories to add, a dressy look, and maybe something outrageous like a big flying dress or gown if you are extra like me.
What To Wear
First of all keep in mind, suggestions! No rules ok. Only guidelines based on my experience and what I have seen work and look really nice in pictures ok that’s all.
Many ask how many changes they can do. I suggest two maybe even three different looks. This could be simply adding a hat or changing just your top. Usually clients like to have a casual look and a dressy look. Often this is even just riding clothes and then a simple dress or cute top.
Colors and Patterns //
Consider wearing solid colored clothing. This will keep the focus on your face and help you stand out from the background. Large intricate patterns can distract from your face and look a bit much in certain settings so keep the patterns small. Muted tones that are a bit subdued will help you be the subject, not your clothes. Bright colors project (especially neons, oranges, reds, and yellows), which can also make you look larger. Choose similar tones for your top and bottom (both dark or both light) so that one doesn’t look bigger than the other.
*For family or couples wanting to coordinate, choose 1-3 colors for your group portrait. Ones with similar tones that go nicely together and have everyone work within that color palette. For example: dark green, navy, and burgundy (all dark jewel tones) OR tan, a lighter olive green, and denims (all lighter, softer tones). So that we see the people first and your portrait looks stunning.
Shoes //
This is going to depend on your outfit but I always like to throw this in. If you are considering wearing heels, bring some flats too. You can put on your heels once we set up the horse and so you don’t hurt your footsies. I never recommend barefoot or sandals around a horse but clients do it all the time. That is at your discretion.
Jewelry and Accessories //
Keep jewelry simple because too much draws attention from your face. This is especially true for necklaces. Now…if you are going for a western turquoise or boho look then layer up! This only if you are going for a styled look but a good rule of thumb is to keep it sweet and simple.
︾
Let me help ya out! I have a few outfits on hand that may interest you if you are struggling with what to wear to your session.

Hair and Makeup
Hair //
Do your hair the way you’d normally do it while wearing the clothes you choose. No fancy up dos with jeans, no pony tails with evening gowns, etc. If getting a haircut or new hairdo, make your appointment at least 2 weeks prior to your portrait session. Fresh hair cuts rarely look their best the same or next day. Ladies need time to practice working it, men need it to grow out just a little. Allow some time to live with your new look before your session.
Makeup //
Make sure your skin is matte. Shiny skin can make you look like you have really oily skin, reflect too much light, and be distracting. A little highlighter is ok but don’t over do it. Apply more blush, contouring, brows and lips than you usually would. The camera tends to take away about 30% of the color and detail on your face. Lack of color will make you look washed out. Make your eyes pop by applying at least two coats of mascara or false lashes. You really connect with your audience when your eyes stand out. OR you can just go for a natural look! Totally up to you!
Pinterest Inspiration Links

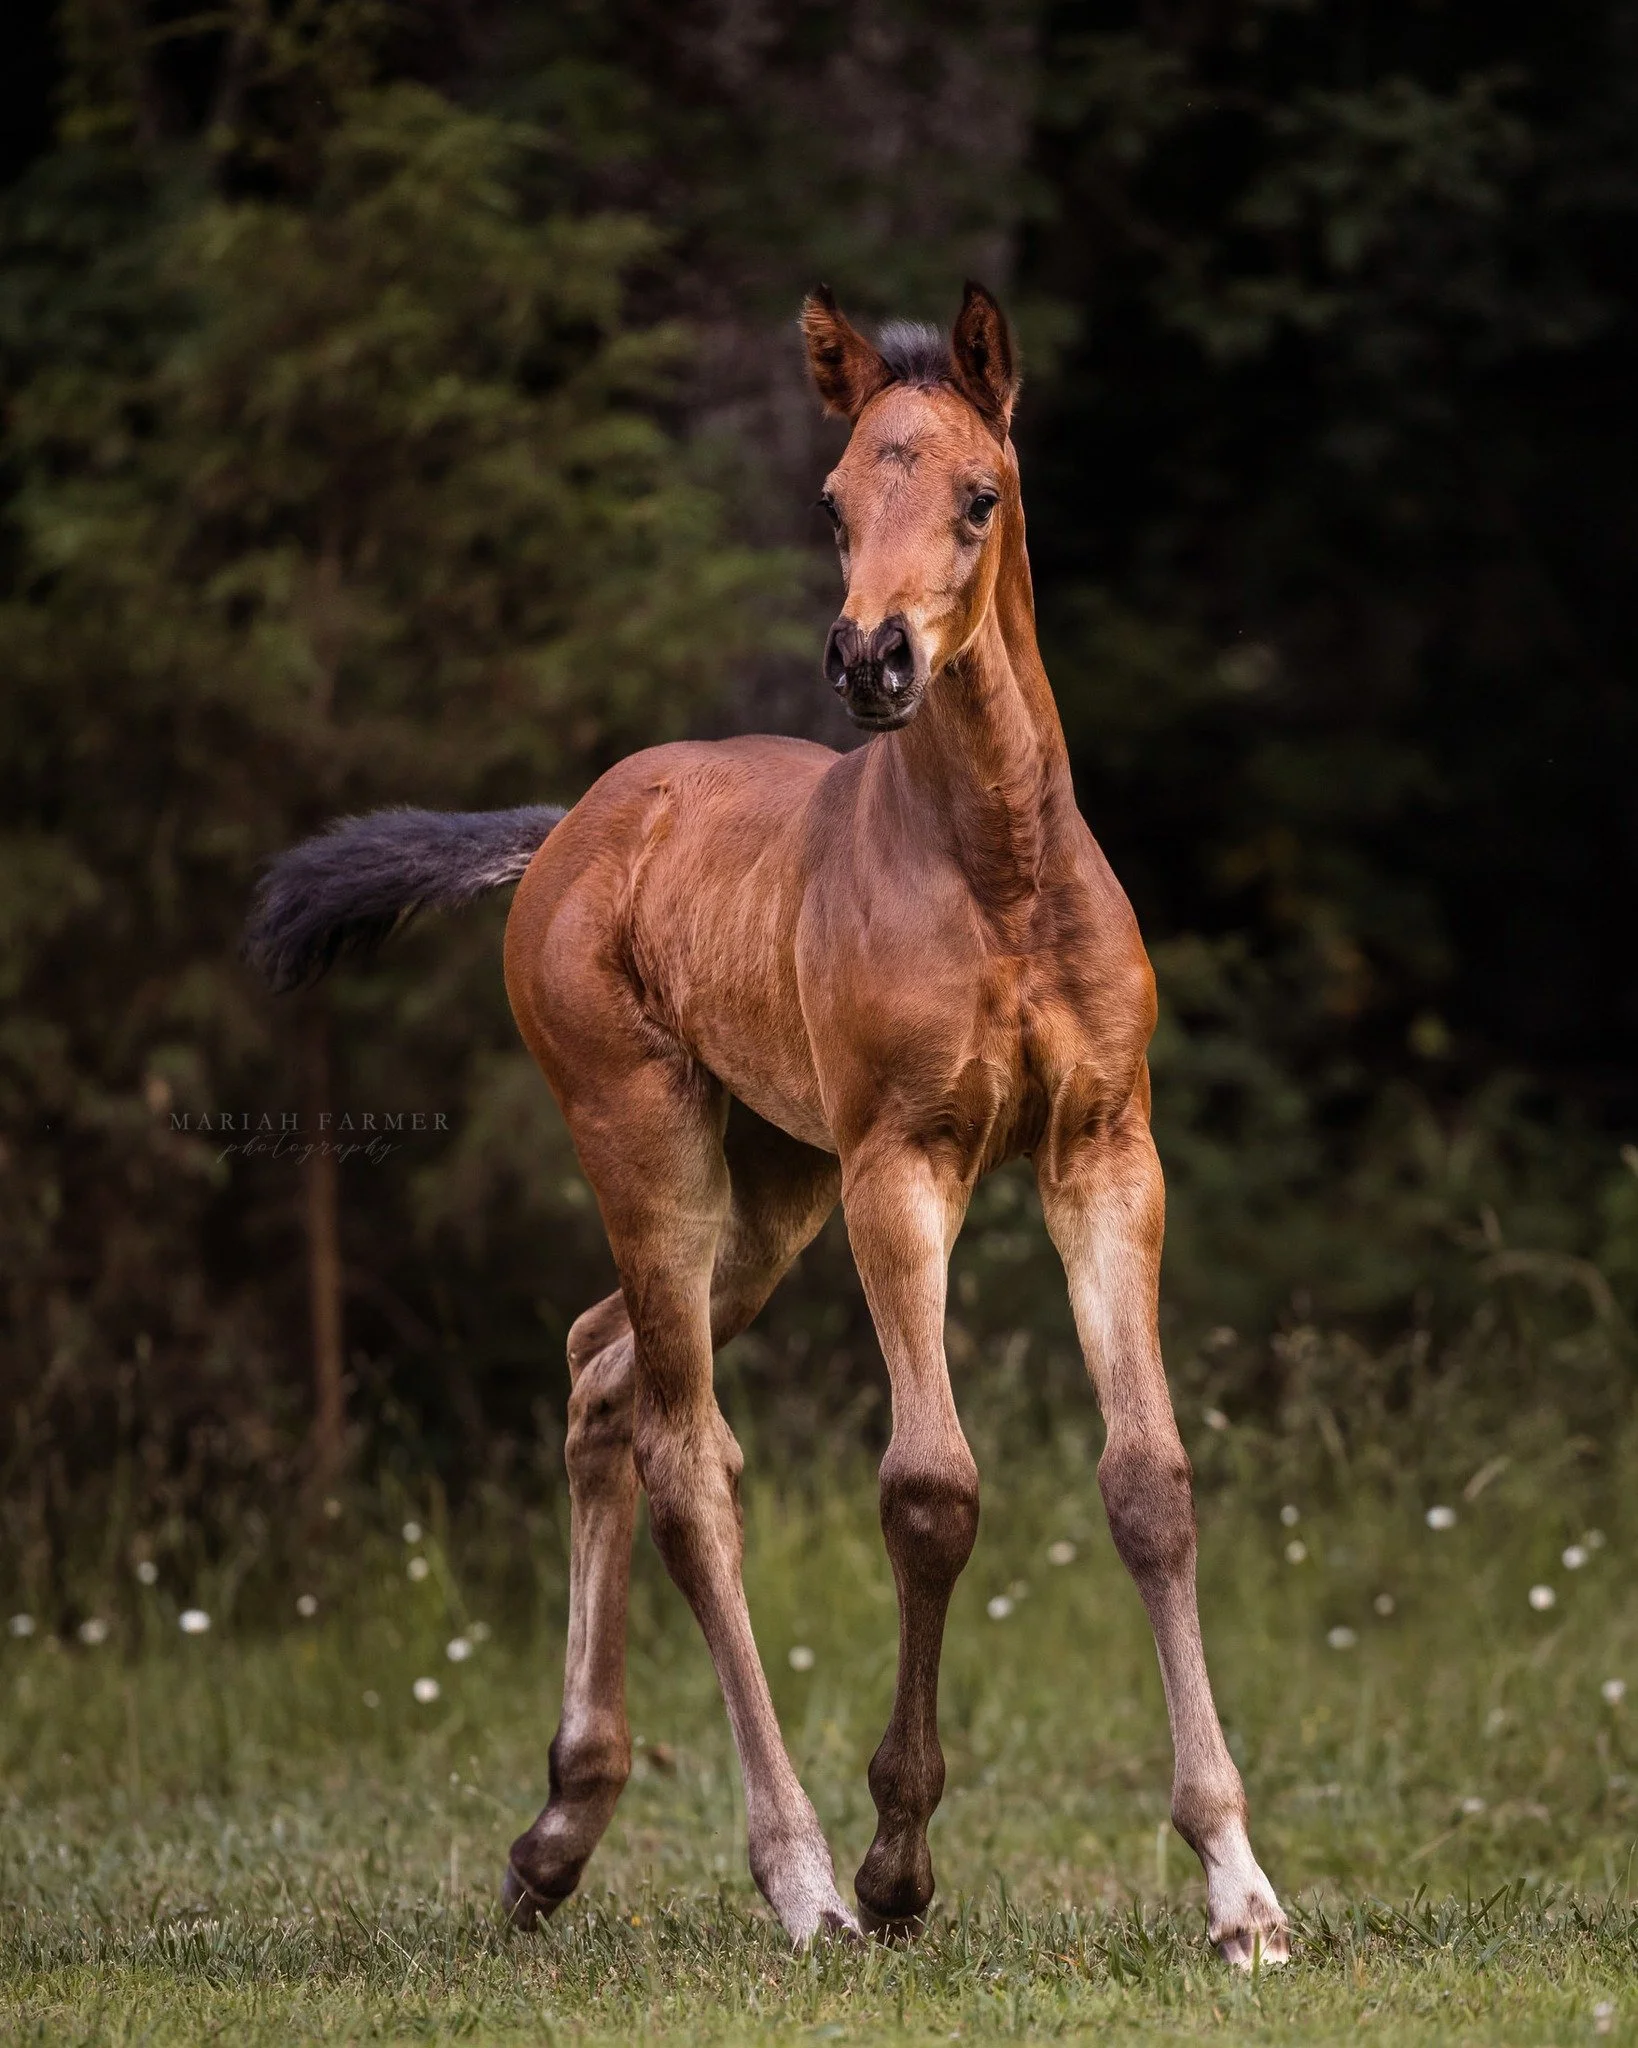
Prepping your Horse
Something to consider is asking a friend or groom to help prep your horse for you session. This will give you time to get yourself ready for pictures. Everyone does it a bit different but I often see owners get the horse mostly ready, then themselves, then touchups on the horse, then we start shooting.
Practice //
If you know you will want some pictures in a back pasture where your horse doesn’t visit often, start taking him out there regularly before our session. If you want to sit bareback for a few shots then you should practice this too. If we are trailering to a location, take at least one trip (I recommend two or even three) out to the location and let him check it out. This way the day of he won’t be so distracted and easier to control.
Work Out Nerves //
Riding or lunging your horse on session day is very important. Horses seem to know it’s picture day and tend to get more excited. Working your horse beforehand may be a good idea to take the edge off so your session is more enjoyable for both of you. Don’t over do it though! We don’t want a sweaty horse right before we start your session. Work your horse at least 3 or 4 hours before your session. This should give you plenty of time to get ready while your horse rests. The more ready for a nap they are the more they will want to cuddle!
Feed Before Your Session //
If your session is scheduled around normal feeding times, go ahead and feed your horse before we start the session in order to keep everyone happy! No one wants pictures with a hangry horse.
Groom Your Horse //
I suggest grooming your horse as though you are getting ready to walk into the show ring. Bathe your horse the night before. This will ensure a shiny coat ready for photos! If you bathe the day of, make sure your horse will have plenty of time to dry well before your session. If you like the look of a pulled mane, braids, polished hooves, clipped ears/muzzle…make sure all of this is done ahead of time so you aren’t getting little hairs all over you right before we start. On the other hand, if you prefer a more natural look you can skip this tip.
*Don’t use black face polish on your horse, it will transfer to your clothing!
Clean Your Tack //
I recommend using a nice bridle or leather halter on your horse during the session. If you need to use a nylon halter, use a black or dark color. Polish up that leather! By making sure any tack you want to have on your horse is clean it will add the finishing touch to your photos.
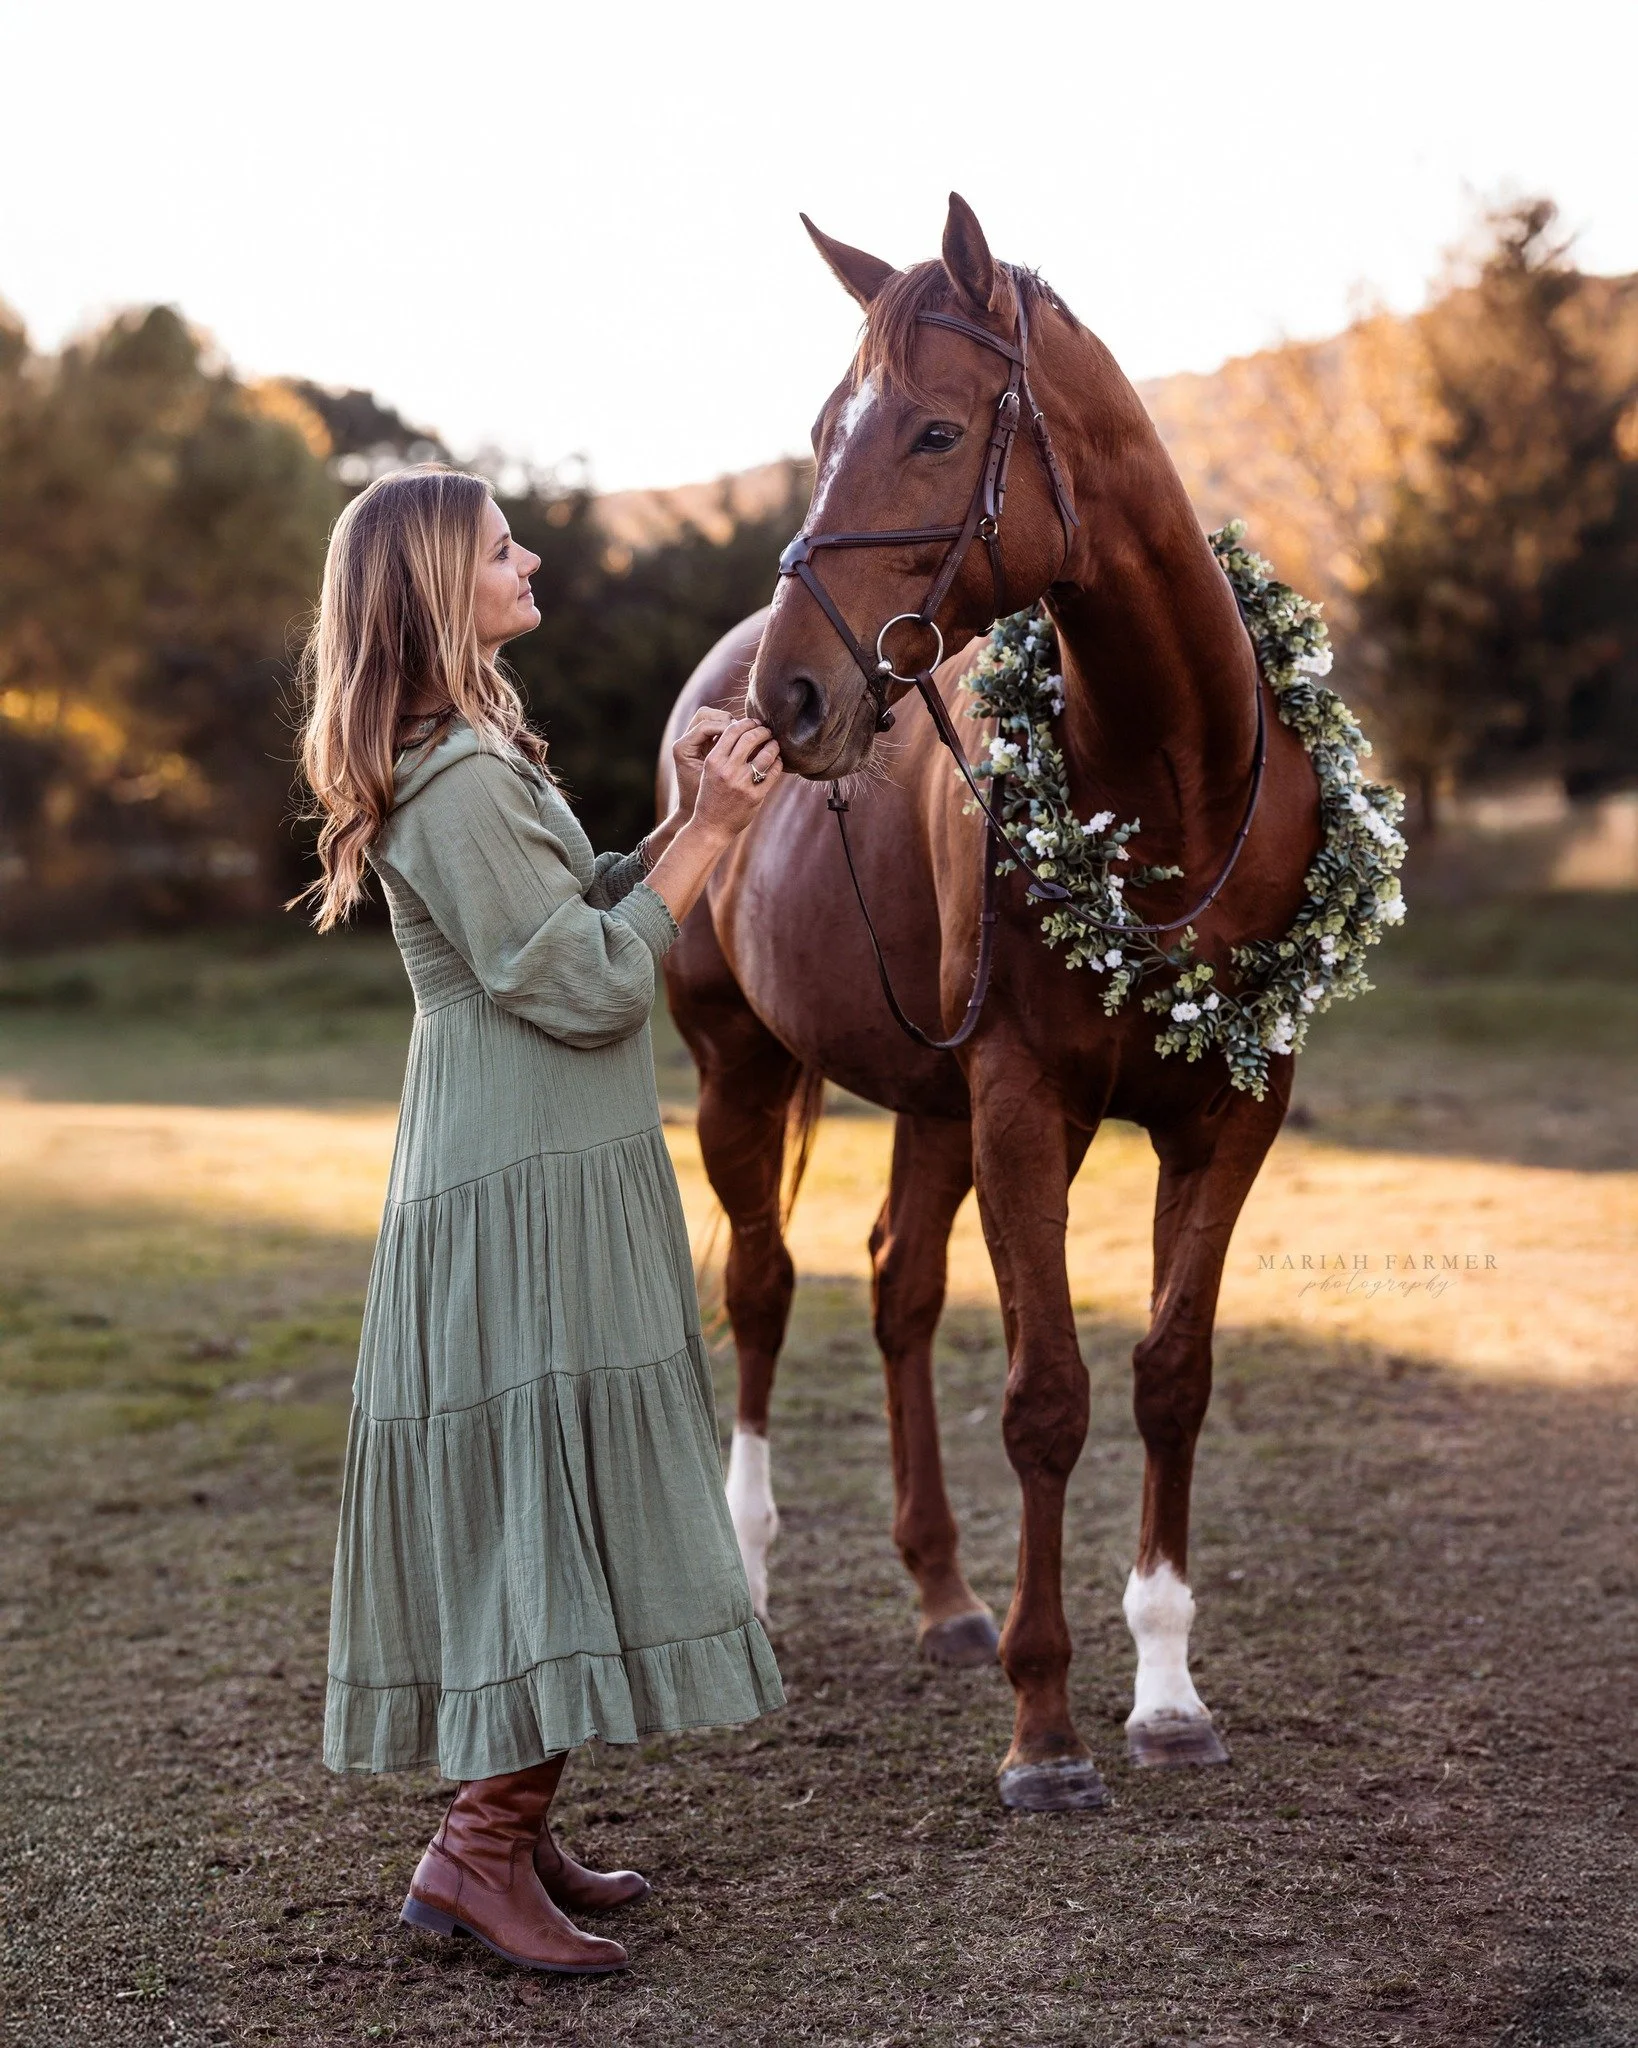
Accessories //
This definitely isn’t a normal thing to think about when you’re planning pictures with your horse, but adding accessories can make your photos unique. Sparkly browbands and flower garlands are some of my favs, but the possibilities are endless so get creative!
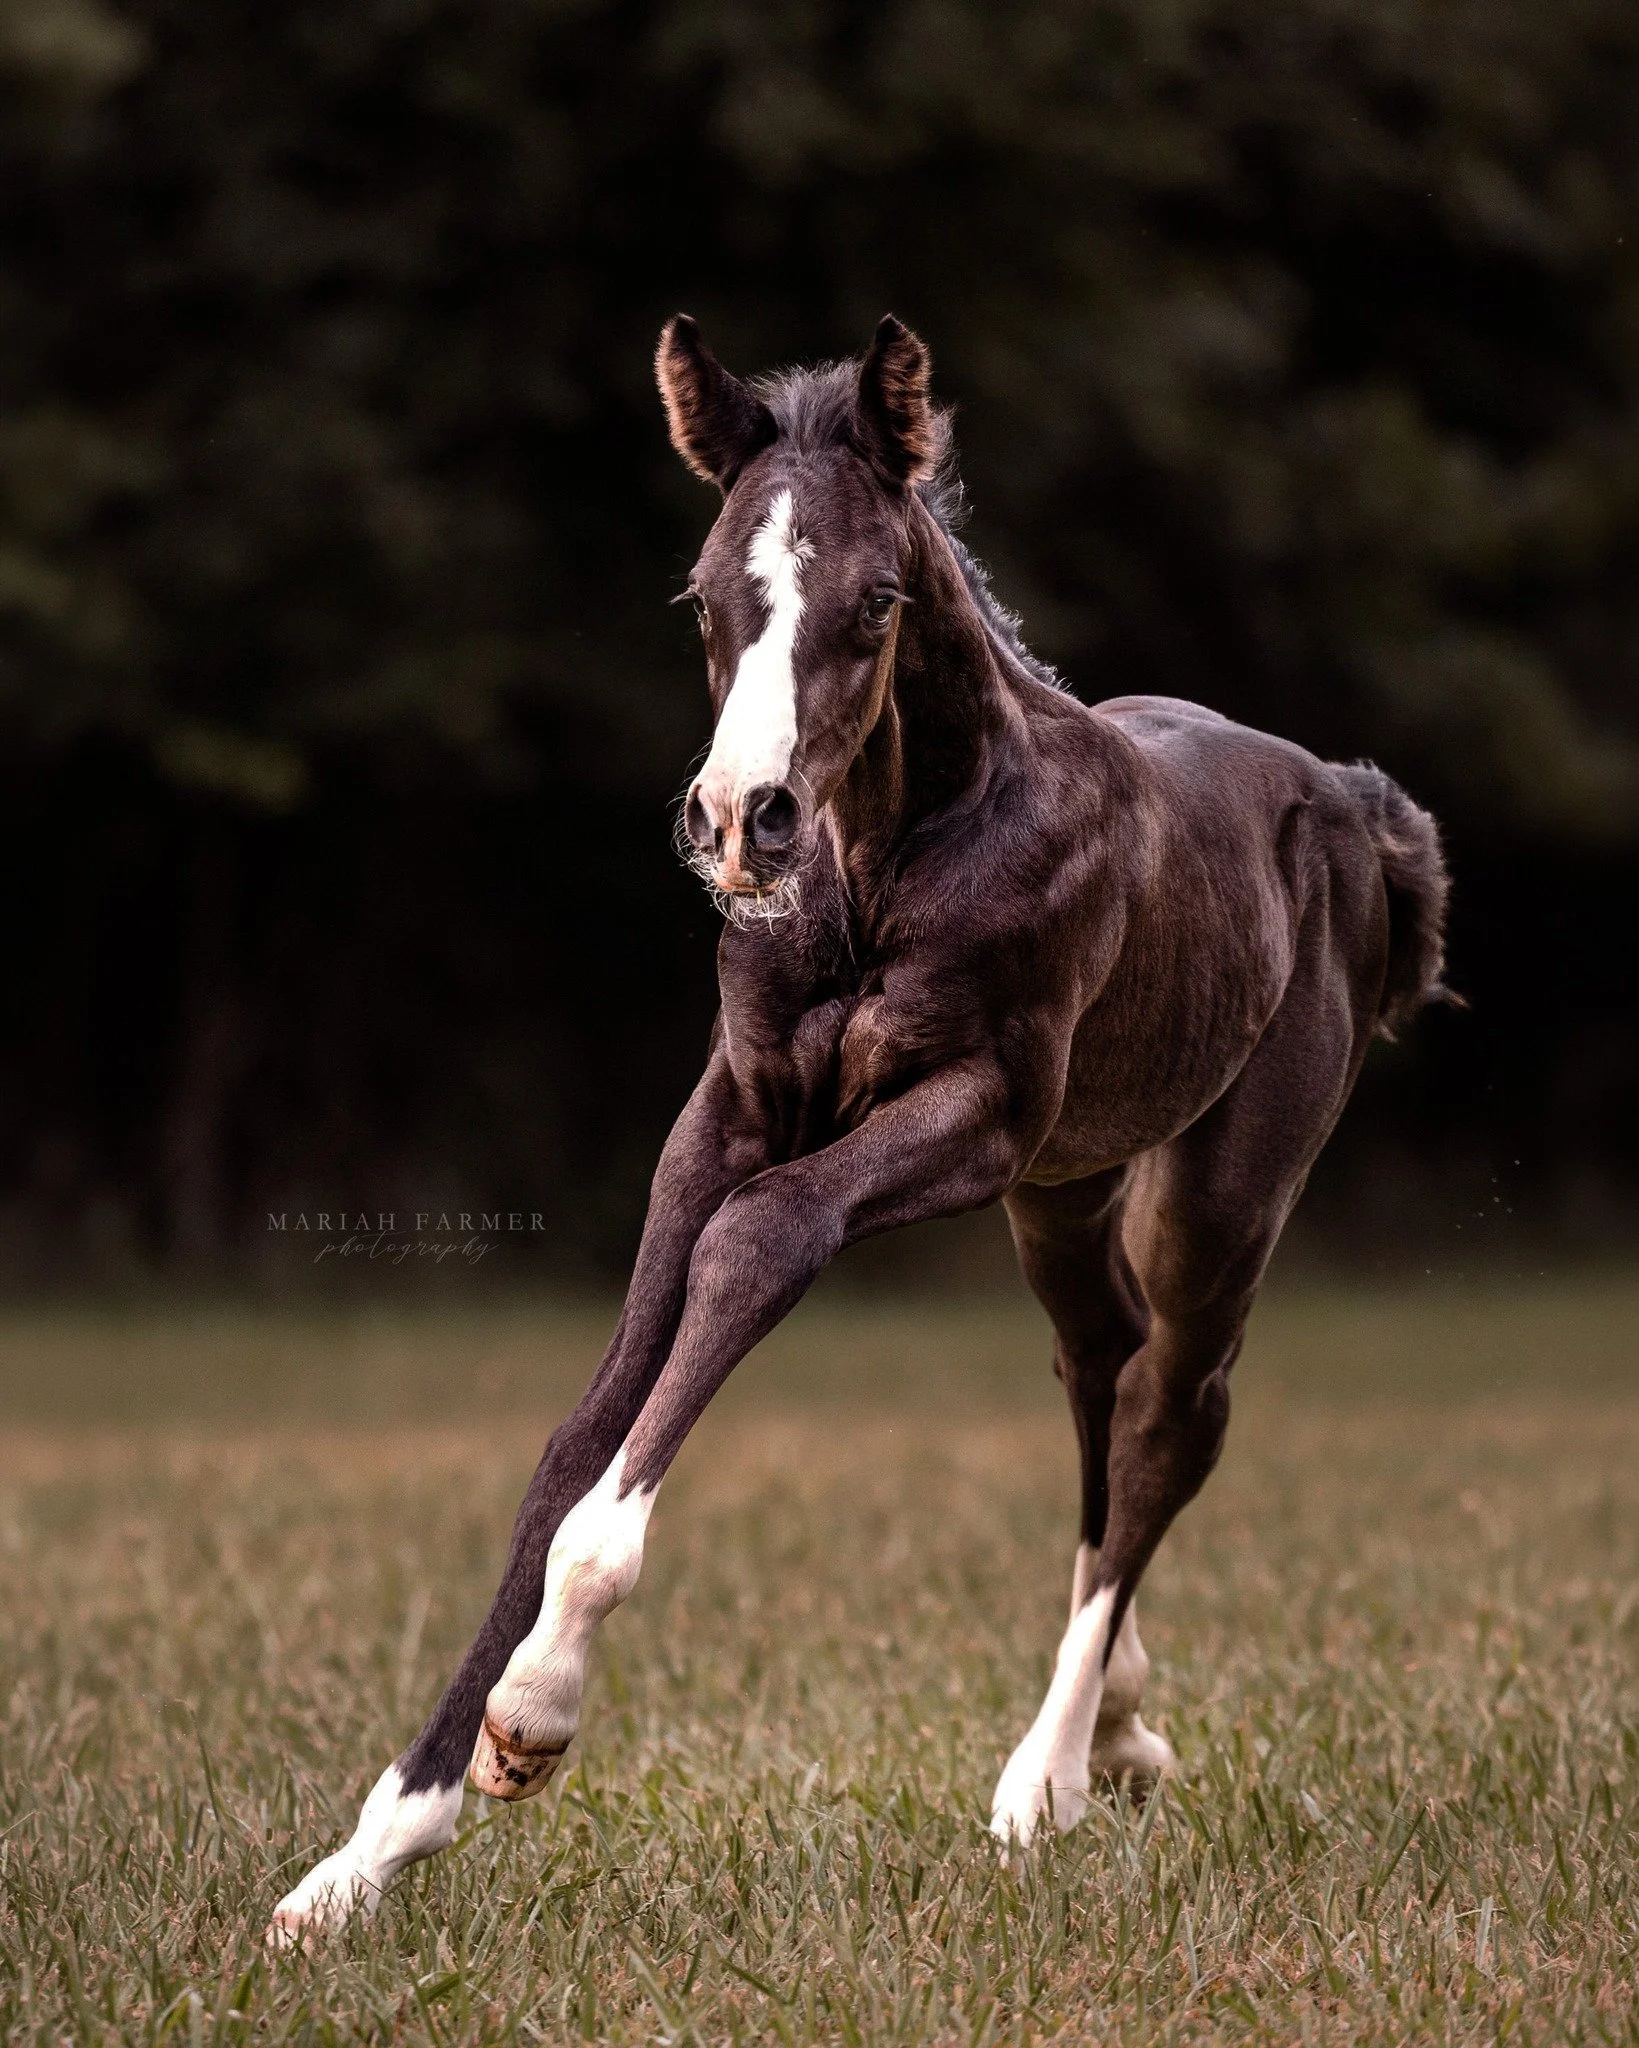
Black Background Sessions

Many assume I bring studio lights and a backdrop…but I don’t. I use natural light and barn entryways. This picture shows an ideal setup. A well shaded entryway and a clean floor. Only thing that could have been better is if we could have closed the back door but it was in use. I need some kind of dark solid background. My assistant will be on hand to help with ears while I direct you on how to hold your horse.
Tidy Up the Foreground //
Clean floors will make editing go so much faster and polish up your images. If we are using an arena, make sure the footing is raked and free of debris.
Groom Your Horse //
Groom your horse for the judges. Go all out with the details. Hoof polish, showsheen, braids, pulled mane, etc. A very clean and shiny horse will pop in their black backgrounds. If you plan on clipping your horse, do this at well before session day. Fresh clipped coats need several weeks before it looks right in pictures.
Clean Your Tack //
I recommend polishing up a bridle or leather halter for black background sessions. Clean, shiny tack will add the finishing touch to your photos. If you are wanting some natural poses, I use a special halter for this. It is very thin so we still have control of your horse and I can edit out the halter easier.
Work Out Nerves //
Riding or lunging your horse on session day is very IMPORTANT. We’ll be asking your horse to stand still and don’t want him too antsy. Don’t over do your work out though! We don’t want a sweaty horse right before we start your session. Work your horse at least 3 or 4 hours before your session.
White Background Add-On //
Now for this add-on I may bring a backdrop. It will depend on the location and lighting. If you are considering this, please let me know beforehand. I would hate to not be able to provide this service because I wasn’t prepared.

What to Expect
When session day arrives, I like to get there about 15 minutes early. This gives me time to chat with you, get to know your horse a little, and scout the location for the best spots. One of the exciting parts of my job is getting to visit new places all the time, which can come with its challenges but I’ve never met a location I couldn’t work with. I’ll spend a few minutes looking for shaded areas, interesting textures, and beautiful backdrops that will make your photos shine.
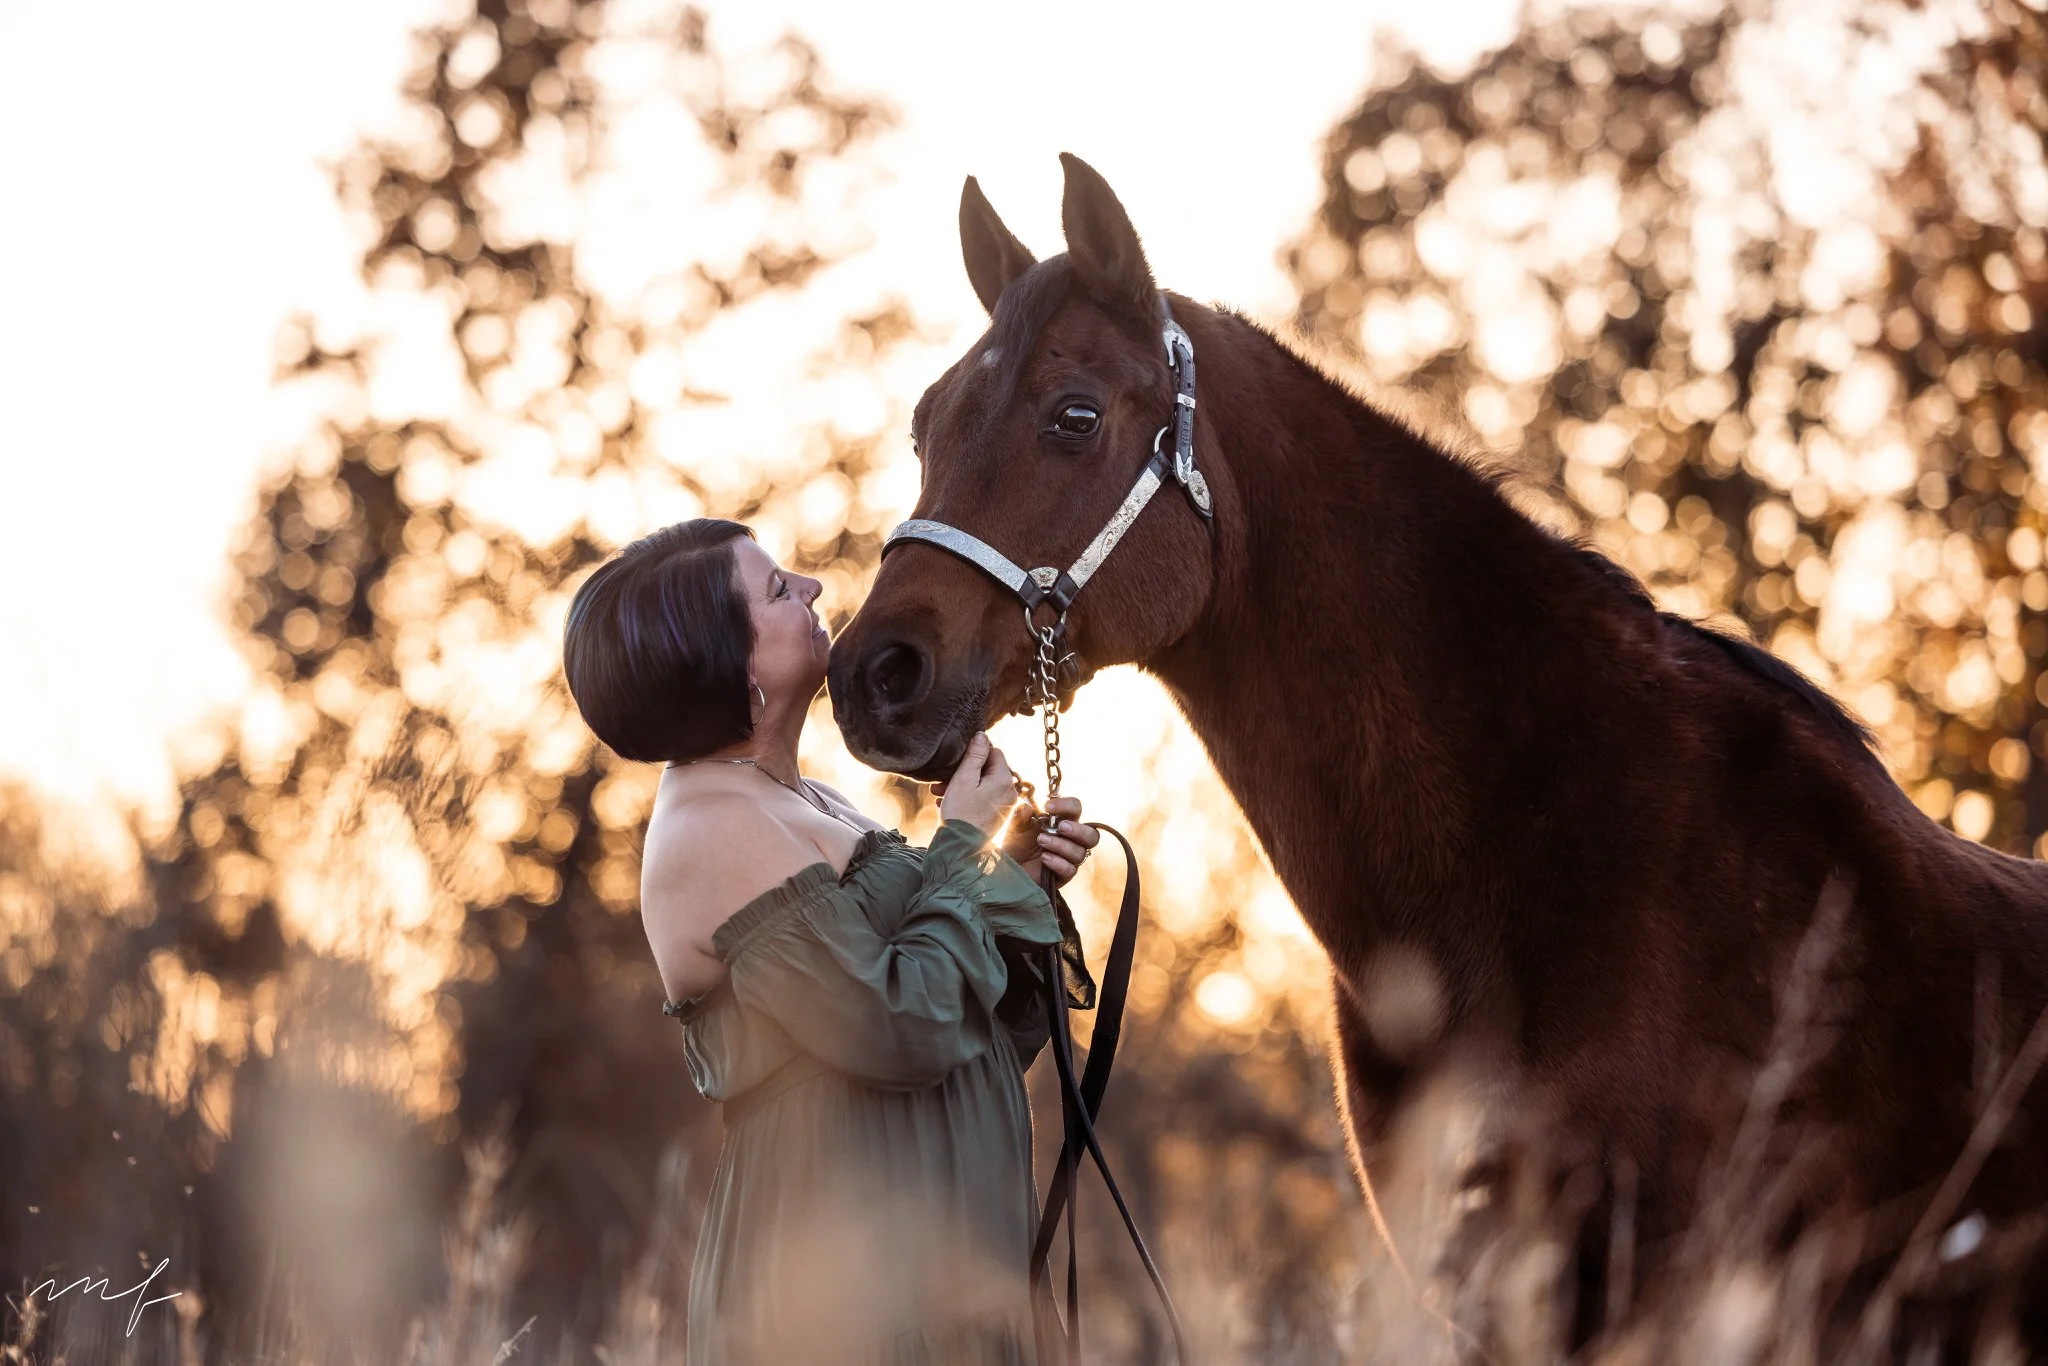
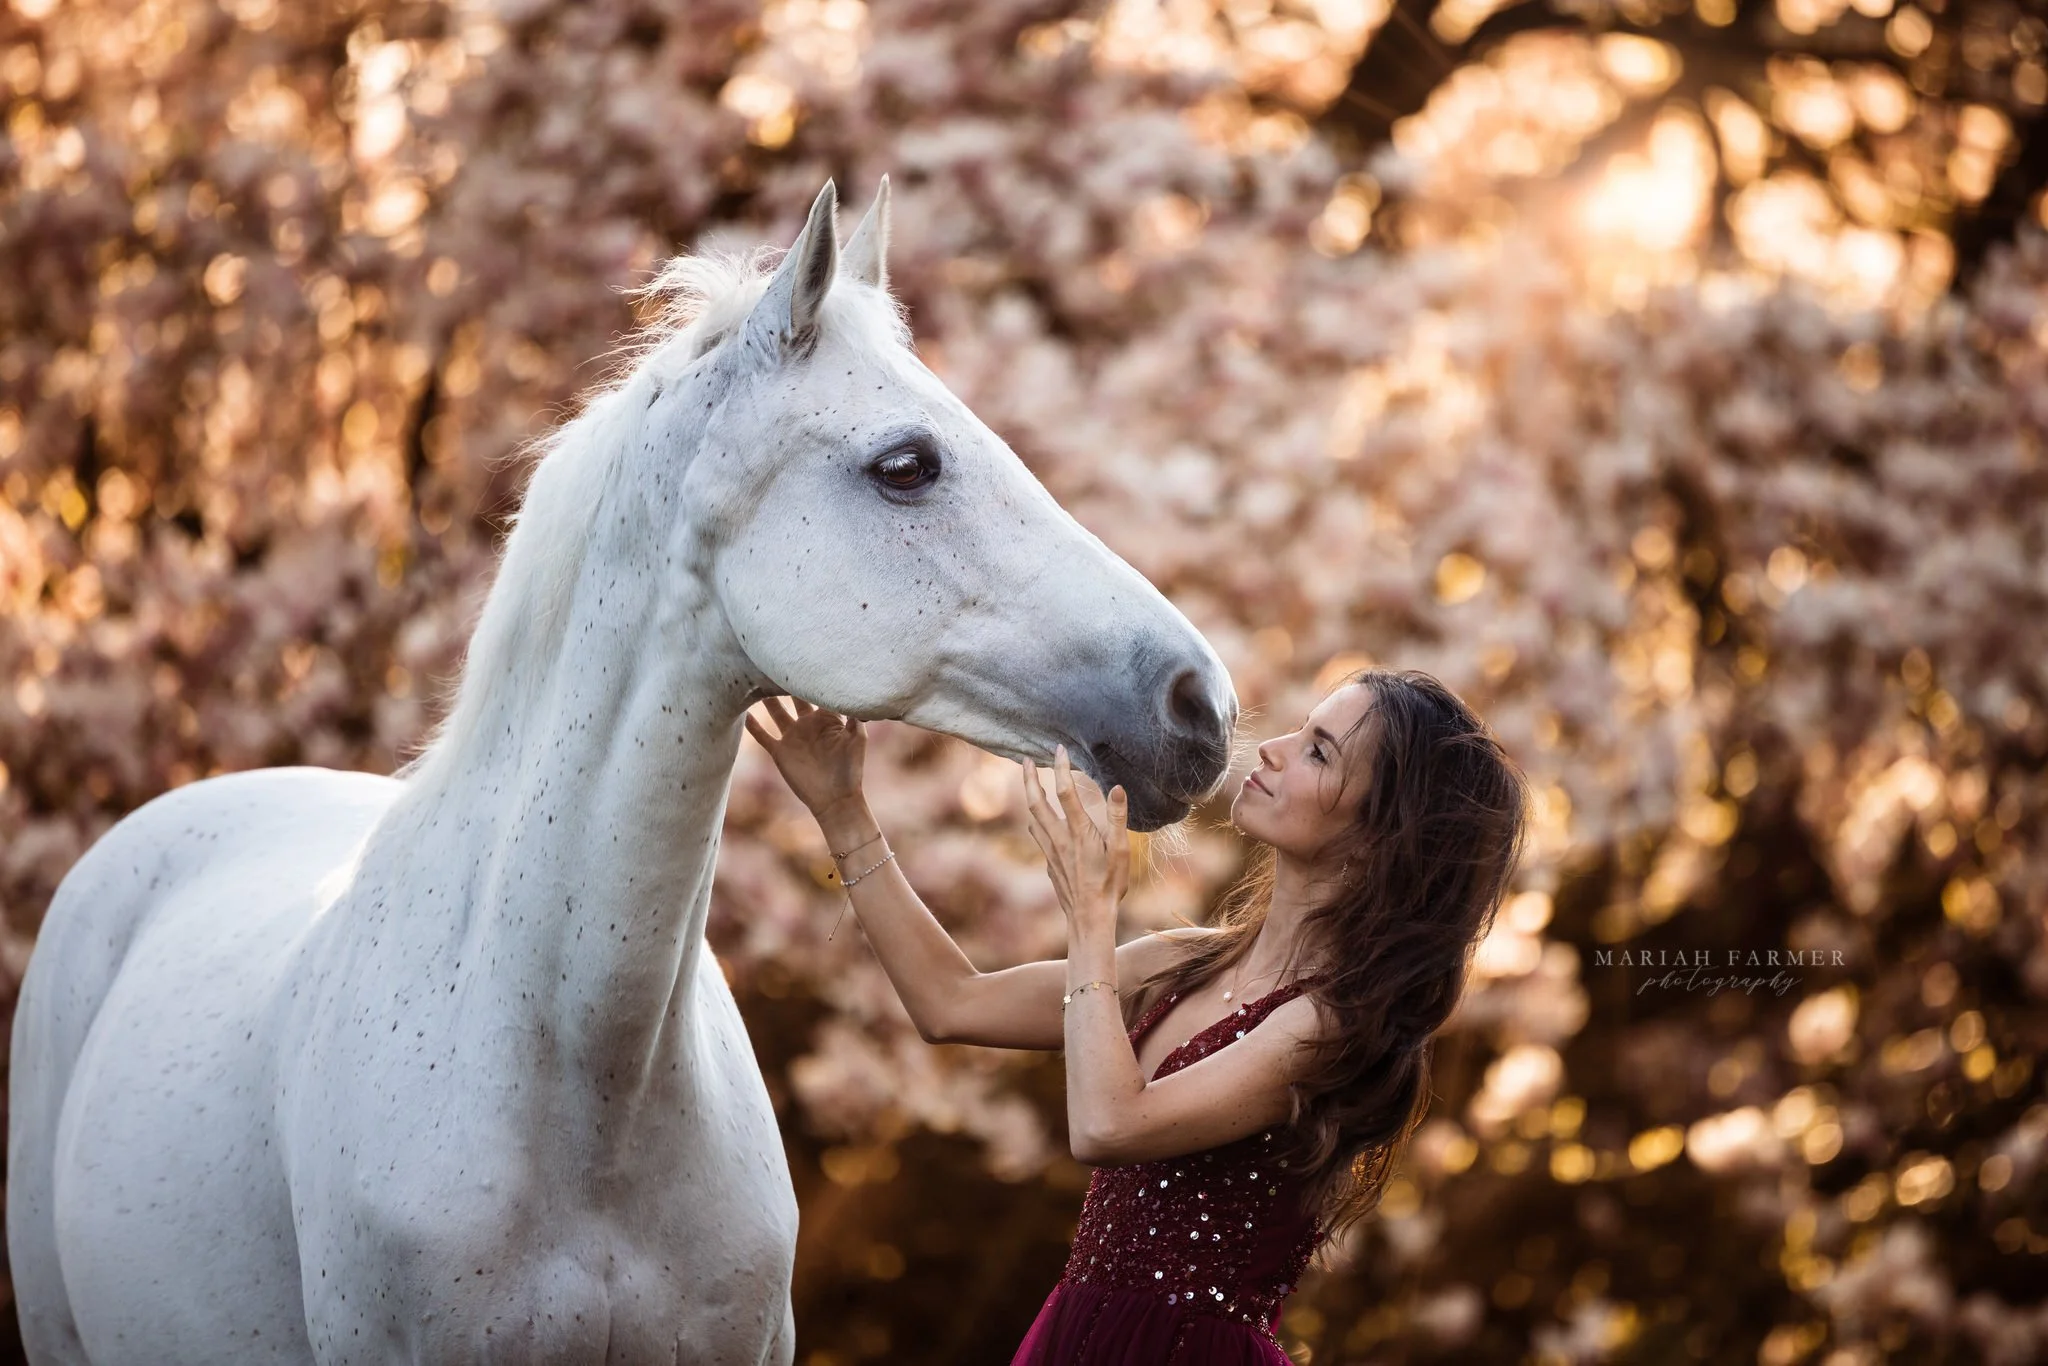
Once we start shooting, we’ll ease into it with something casual and relaxed, like having you love on your horse for a bit while you both settle in. From there, I’ll guide you through a variety of poses, ensuring that both you and your horse look your best. Posing with a horse can be a little different from traditional portraits since their mood, energy, and willingness to stand still all play a role. That’s why I take a flexible approach, working with your horse’s natural movements while gently directing you into poses that feel natural and flattering.
I’ll walk you through hand placements, body positioning, and small adjustments to ensure everything flows smoothly. Some poses will focus on quiet moments of connection, like resting your head against their neck or standing side by side, while others may involve movement, like walking together and playful interactions that bring out your personalities. No need to stress about what to do with your hands or how to stand, I’ll be there to guide you every step of the way so you feel comfortable and confident in front of the camera.
When it comes to black background sessions, I’ll have an assistant with me to help with posing and positioning your horse. My assistant is familiar with the angles I’m looking for and will help get your horse’s attention so we capture the most flattering shots. You’ll most likely just need to be nearby to hold your horse when needed. For turnout sessions, the process is even simpler, we’ll pick a good spot to turn your horse loose, figure out where I need to stand to get the best action shots, and coordinate from there.
Above all, my goal is to make the session fun, laid-back, and enjoyable for everyone involved. So take a deep breath, love on your horse, and leave the rest to me!
After your session, you’re probably going to be eager to see the photos—totally normal! Many clients worry that their horse was too antsy or that we didn’t get the shot, but trust me, I’ve done this long enough to know how to work with any situation. I promise we made some magic happen, and you just have to trust the process!
To ease your mind, I often send a few sneak peeks within a few days so you can get excited while I work through the full gallery. My typical turnaround time is 3 to 5 weeks, but I’ll keep you updated along the way so you always know how things are progressing.
Once your images are sorted and lightly edited, I’ll send you a preview gallery where you’ll have access to all the images from your session. Take your time, enjoy them, and then select your absolute favorites for me to fully edit to perfection. This means fine-tuning details, adjusting small distractions, and even a little Photoshop magic (like nudging an ear forward if needed). After I put the final touches on your images, I’ll let you know when they’re ready for download and sharing, so you can finally show off your stunning photos to the world!

Policies
Much of this was mentioned in our contract but here are a few topics I get asked often.
Initial Payment - Reserves the session date and time. Non-refundable and retained if the client cancels. If rescheduling is necessary, the payment can be held for one year otherwise is retained.
Travel Fee - A non-refundable travel fee applies for sessions over 30 miles from Mariah Farmer Photography's location and amount agreed upon before signing the contract.
Payment - Cash is my preferred method of payment. I can a accept card and PayPal or Venmo. Full payment is due the day of your session.
Refunds - Reshoots are up to my discretion, and refunds aren’t offered for things like clothing, makeup, weather, or if your horse isn’t cooperating. Since style is subjective, refunds won’t be given if you’re unhappy with the look as long as the images meet my usual standards. If you’re late by 30 minutes or more, the session may be canceled, with initial payments and travel fees retained to cover lost business.
Reschedule or Cancelations - If the session needs to be rescheduled due to weather, illness, or emergencies, I’ll do my best to accommodate a new date. If we can’t agree on a new date, I’ll refund any payments made, except for the initial payment and travel fee.
Inclement Weather - I constantly check the weather leading up to your session. If it’s going to be raining obviously we will need to find a new date. I will let you decide if you want a to reschedule if it’s overcast. Overcast sessions still look great but if you are wanting that sunset glow then we should reschedule
Punctuality - Please make sure you and your horse are ready at the agreed time for our session. I can't guarantee the best results if you're late.
Attire - I'm not responsible for your outfit or tack choices, but I can offer suggestions before the session. Ultimately, the final decision is yours, and I won’t issue refunds if you’re unhappy with the images because of those choices. If needed, we can schedule another session at full price. For bridal sessions, I’m not liable for any damage to your wedding dress. You understand the risks and take responsibility if your dress gets stained or torn during the shoot.
Editing - You’ll receive only edited images, as I don’t provide RAW or unedited files. If you request additional edits, I may decline or charge a fee. Re-editing images, including adding filters, is not allowed.
Sharing Your Images - You may share your digital images on social media (FB, IG, or your own website). Please contact me first before sharing with a third party (trainer, online publishing, magazine, etc.).
Turn Around Time - Within 5 weeks you will have access to your gallery.
Make Your Selections on Time - Once you have received your preview gallery you will have 60 days to make your final selections for me to edit. If you have not selected your final images within that 60 days, I will make your selections for you and deliver your digital images with no further obligation to change the selected images, trade images, or re-edit images. If you are dissatisfied with my selections, you can purchase additional images from your gallery later on so it's important to make your selections within 60 days.
Camera Failure - If digital files are lost, stolen, or damaged due to reasons beyond my control, I may offer a refund or schedule a reshoot. If some originals are lost, the refund will be prorated based on the percentage lost. I’m not liable for any images beyond the final delivery.
Injuries - I’m not responsible for any injuries to participants. You’re responsible for yourself, children, horses, and pets, and you release me from any claims. I strongly advise against posing on horses without a helmet, and you assume all risks involved. I reserve the right to terminate the session if there’s any inappropriate or unsafe behavior. You acknowledge the risks associated with handling horses and agree to hold me harmless for any personal injuries or injuries to your animals during our session.
Payment - You agree to pay the total fee in your invoice the day of the session. If you don’t pay—you won’t receive any pictures. You can set up a payment plan, but I’ll only deliver images and products once the balance is paid.
Printing Your Images - Your digital images do not include a print release (unless you purchased the Platinum Package or a Print Release). Meaning, you may not print your images except through your online gallery. Your gallery will include a personalized store where you can purchase prints, canvas, acrylic, and much more. Learn more HERE
#NoFilter - It hurts my soul when I see a client add a filter to their images. I spent many hours perfecting your images and to see it undone with a filter is sad.